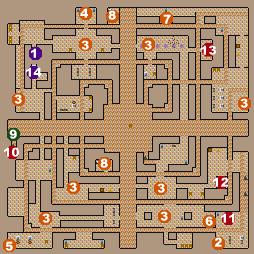
Please note that I haven't marked the locations of Golems or items other than very special ones on the map. If you want to, take the time to explore, as there's quite a few items on this level, including a lot of potion-making herbs, some weapons, scrolls, etc.
When you first enter this level your objective is the control panel in the far southeastern corner. Make your way to the control panel and when you arrive look at the buttons carefully. You want to turn off Grid Alpha and Grid Beta, so push those buttons, making sure that they read as being off. If you want to destroy the Spawning Crystals on this level and the Golem Factory level you should also push Shielding First and Shielding Second. Again, check to make sure they're set to off, as one of them needs to be pushed twice.
Once you've done that you should return to Under Golem Factory to disable the fourth Golem Spire, and then make your way to the Golem Control Spire to finish the quest. Once you've completed the Control Spire the beams in this level will be deactivated, making it much easier to explore without dying.
Use the map to find the locations of the major items on this level, as well as the locations of all the Spawning Crystals. There's a lot of Golems on this level, but there's also more than a few good items lying around.